
Sauna Room Layouts That Make the Most of Limited Space
Sauna Room Layouts That Make the Most of Limited Space — Wellness
A small footprint can still leave room for comfortable seating and easy movement. Compare five layout approaches and learn what to check before buying a sauna for a tight space.
A small sauna room works best when the layout starts with how you will enter, sit and move, not simply which enclosure fits between two walls. A compact cabin can still feel awkward if its door blocks the walkway or its heater limits usable seating.
For homeowners working with a spare bathroom corner, basement nook or modest backyard area, the goal is straightforward: choose a layout that preserves comfortable seating, safe access and the installation clearances your equipment requires. These five approaches help you compare options before buying.
Measure the Space You Actually Have Available
Record the room’s width, depth and ceiling height, including any soffits, sloped ceilings or low beams. Then mark the entrance, windows, outlets, plumbing fixtures and anything else that cannot easily move.
Your sketch should distinguish three separate areas:
- Enclosure footprint: The sauna’s exterior dimensions, including any projecting trim or roof overhang.
- Operating space: The area needed for the door swing, entry, exit and nearby circulation.
- Installation and service clearances: The space required around the enclosure, heater, ventilation openings and serviceable components.
These areas do not automatically overlap safely. A walkway that appears generous on paper may disappear when the sauna door opens, and a tight wall gap may prevent access to a required service panel.
Measure the delivery route too, including stair turns and door openings. For a closer look at capacity versus usable seating, Hearthside Supply’s guide to choosing the right sauna size for your space can help narrow your shortlist.
Which Sauna Room Layouts Work Best in Limited Space?
The strongest arrangement depends on the shape of the available area and whether you are installing a prefabricated cabin or creating a custom enclosure. These are planning approaches, not guarantees that a particular product will fit.
| Layout approach | Best starting point | Seating approach | Main issue to check |
|---|---|---|---|
| Back-wall layout | A shallow room or unused end wall | Straight bench | Clear approach to the entrance |
| Corner-entry layout | A square room with an open central area | Model-specific corner seating | Door swing and actual usable bench length |
| Linear layout | A long, narrow space | Seating along one side | Clear passage beside the heater and benches |
| Custom L-shaped layout | A compact, roughly square enclosure | Seating on two adjacent walls | Corner overlap and heater placement |
| Outdoor-edge layout | A small patio or garden boundary | Product-dependent | Foundation, access and required setbacks |
1. Back-Wall Layout: Keep the Entrance Area Open
Placing the enclosure against the far wall can make a small room easier to navigate. You enter the surrounding room, approach the sauna directly and keep the remaining floor area together rather than dividing it into narrow strips.
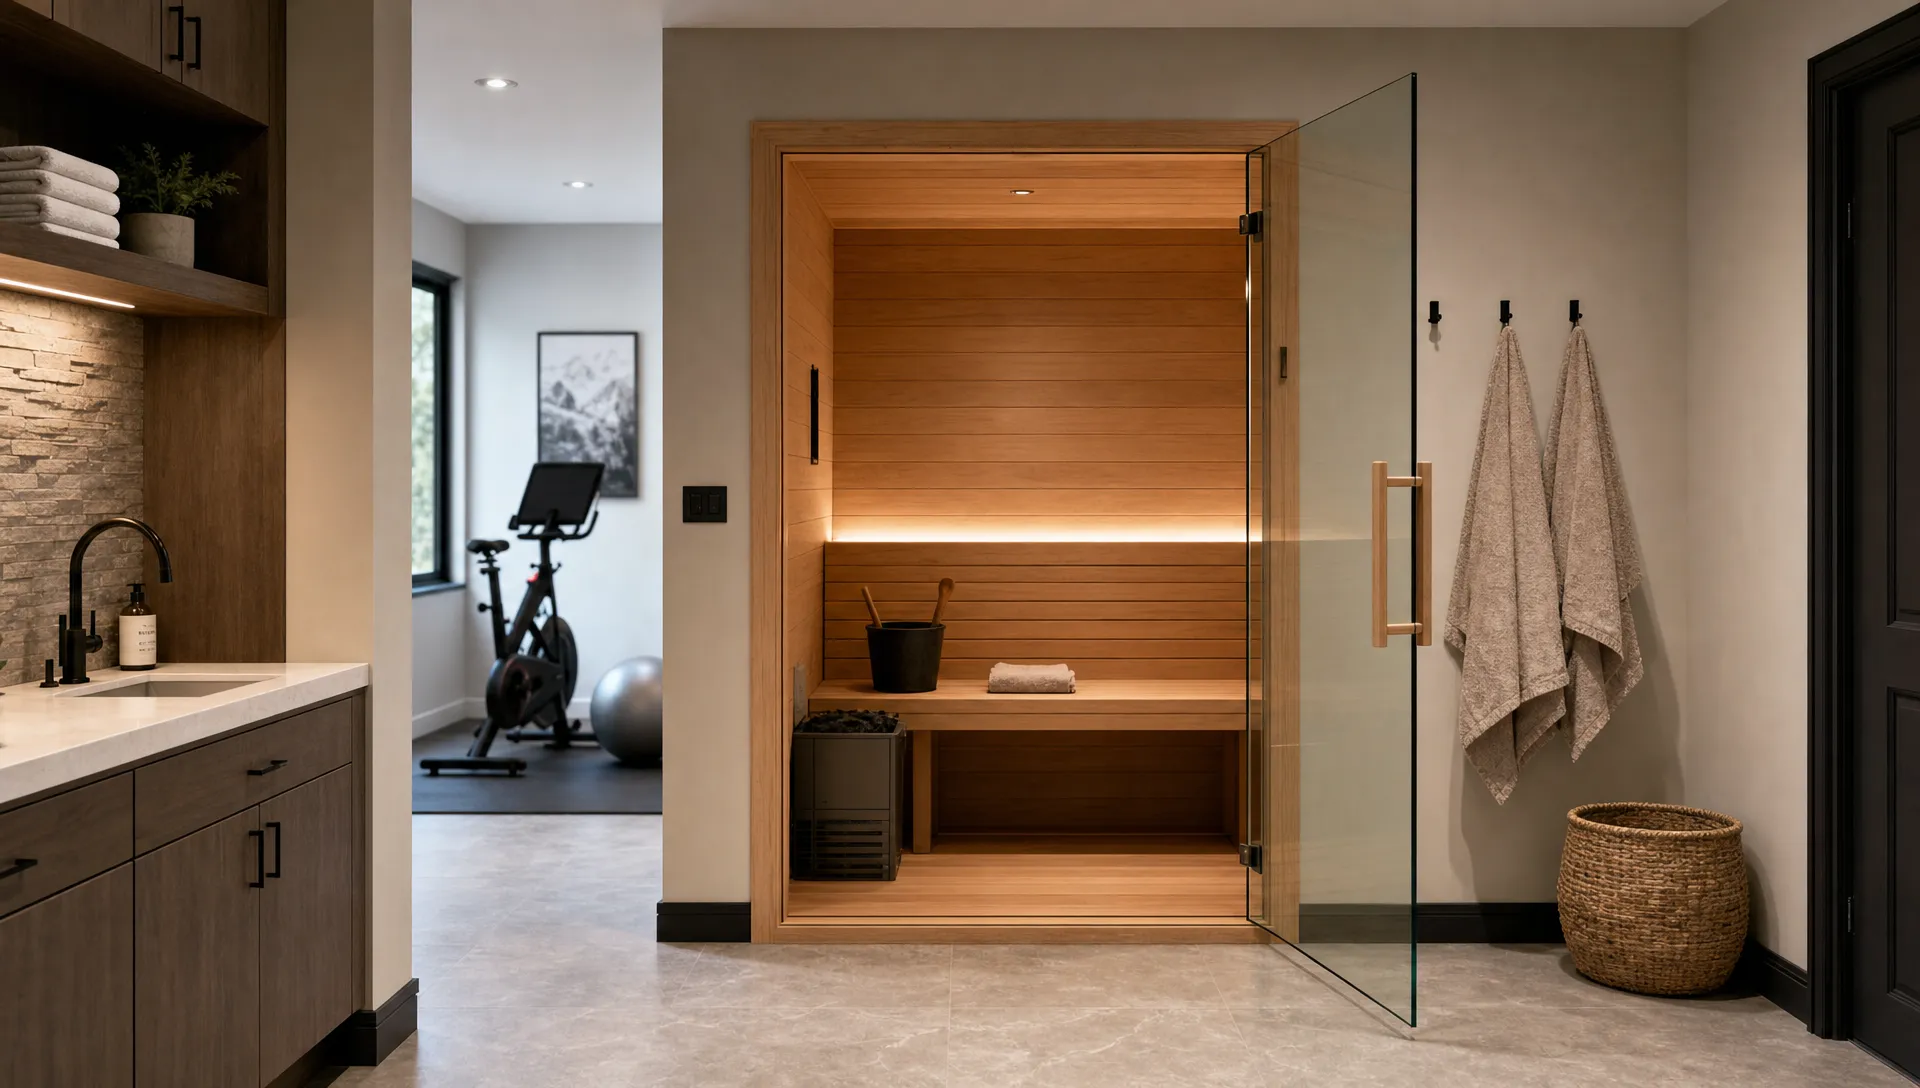
This sauna room layout is a useful starting point when you want one simple bench and do not need a separate changing area inside the enclosure. Keep towels and robes outside, provided hooks or storage do not obstruct the entrance.
Check the sauna door’s full swing against the room’s entrance door. Two doors that collide or block each other can make an otherwise sensible arrangement impractical. Also confirm that the proposed back-wall position leaves every required installation gap accessible.
2. Corner-Entry Layout: Use a Corner Without Blocking Circulation
A purpose-built corner cabin may work well where a conventional rectangular enclosure would project into the main walkway. An angled entrance can orient access toward the open part of the surrounding room.
However, the corner shape alone does not prove that it uses less floor space. Compare the complete exterior outline rather than just the two dimensions that run along the walls.
For a compact sauna room, usable seating matters more than a visually tidy corner fit. Check bench depth, shoulder room and where each person’s feet will rest. A cabin’s stated capacity does not tell you whether your preferred sitting position will be comfortable.
This approach is most useful when the enclosure, door and surrounding circulation can all be evaluated from a dimensioned floor plan.
3. Linear Layout: Follow the Long Wall
In a narrow space, a straight bench along one side usually deserves consideration before seating on opposing walls. Two facing benches can leave an unnecessarily tight central passage once the heater and its required clearances enter the plan.
With a prefabricated cabin, compare models whose entrance and seating orientation suit the surrounding room. Do not assume the door or heater can be moved unless the manufacturer offers that configuration.
For a custom traditional enclosure, establish the heater’s approved location and clearances before fixing the bench dimensions. A qualified designer or installer can then work through the relationship between seating, foot support and circulation.
Avoid treating an ordinary hallway as spare installation space. Existing routes through the home, especially required exit paths, need to remain usable.
4. Custom L-Shaped Layout: Add Seating on Adjacent Walls
An L-shaped bench can suit a roughly square enclosure when two people want to sit at an angle to one another. It can also provide more flexibility than a single short bench, depending on the room and heater arrangement.
The tradeoff is the shared corner. Two bench runs do not provide their combined length as independent seating because occupants may compete for the same corner and foot space.
Before choosing this sauna room arrangement, draw people sitting on the plan rather than counting bench edges alone. For reclining, confirm the uninterrupted usable length instead of assuming the corner will make up the difference.
A custom layout also needs coordinated bench height, ceiling height and heater placement. Keep the design within the equipment manufacturer’s requirements rather than lowering or rearranging components solely to squeeze in another seat.
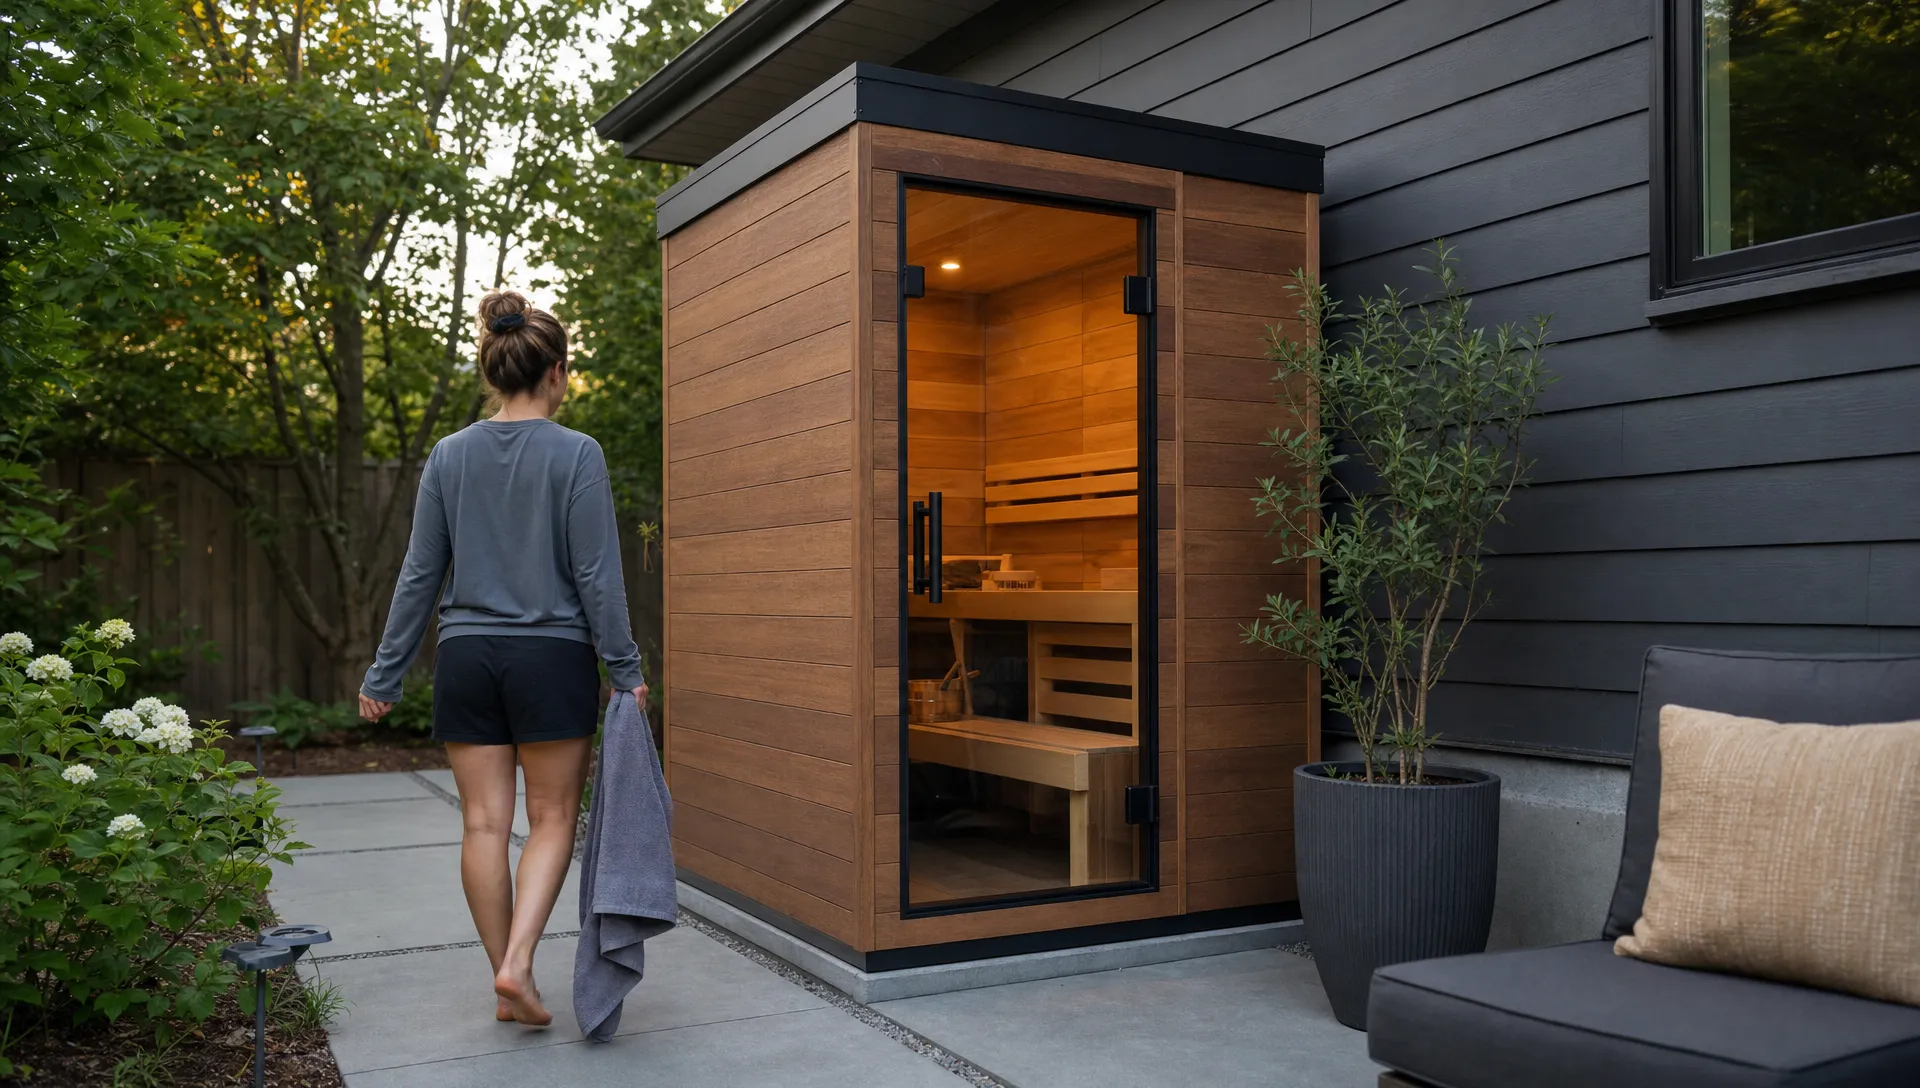
5. Outdoor-Edge Layout: Preserve a Usable Patio
Positioning an outdoor enclosure along the edge of a patio or garden can preserve a larger, continuous area for everyday use. That is often more practical than centering it and leaving several small leftover spaces around it.
Keep the entrance connected to a stable, slip-resistant route. Include lighting for evening access and think about rain, snow and seasonal maintenance where applicable.
The edge of the property is not automatically an approved installation location. Confirm local setbacks, the supporting base, utility routing and the manufacturer’s required separation from surrounding structures or materials.
Do not count a narrow gap behind the enclosure as useful space unless it genuinely supports the required access. A location that prevents maintenance is not an efficient use of a small yard.
Test the Layout With a Full-Scale Floor Mockup
Painter’s tape can reveal problems that a floor plan misses. Mark the enclosure’s exterior outline, then add the door swing and each required clearance as separate boundaries.
For example, a hypothetical 4-by-5-foot enclosure occupies 20 square feet within a 7-by-8-foot room. That leaves 36 square feet mathematically, but not necessarily 36 square feet of useful circulation. Its location determines whether the remaining area forms one practical space or several awkward gaps. These dimensions are an illustration, not a product specification or an approved installation plan.
Walk through the proposed sauna room approach while carrying a towel. Open nearby doors, stand where you would change and check whether a second person could pass without stepping into a door’s path.
For a custom interior, mock up bench depth with cardboard or movable furniture outside the heated enclosure. Test sitting positions without placing temporary materials near operating equipment. If the arrangement feels cramped before construction, revise it before ordering.
Let Installation Requirements Shape the Floor Plan
Match the Layout to the Heating System
Traditional electric and infrared saunas can have different installation requirements. A traditional heater needs its specified safety clearances and an interior arrangement that works with its heat distribution. Infrared cabins require seating positions and clearances appropriate to their panel configuration.
Neither type should be assumed to need less total space without checking the specific model. The exterior footprint is only one part of the comparison.
For a traditional heater, do not treat the space above or beside it as a storage opportunity. Follow the instructions for guards, combustible clearances and accessory placement. Similarly, do not add shelves or coverings around infrared panels without manufacturer approval.
Reserve Ventilation and Electrical Access
A sauna room plan is incomplete until ventilation openings, wiring routes and service access have a place. Check the installation manual before pushing an enclosure against a wall or enclosing it within cabinetry.
A sauna’s ventilation arrangement and the surrounding room’s moisture management are related but separate questions. One does not automatically solve the other, particularly near showers or bathing fixtures. Do not improvise vent locations to match an otherwise convenient layout.
Have a qualified electrician confirm the proposed model’s electrical requirements and the applicable local rules. Avoid assuming an existing outlet is suitable or that an extension cord can bridge an inconvenient gap.
Protect the Exit and Surrounding Floor
Plan for an outward-opening sauna door with no lock or latch that could trap an occupant, consistent with the applicable product instructions and local requirements. Do not substitute a different door system just to recover floor space without approval.
The surrounding floor should suit its expected exposure to moisture and be easy to keep dry. A sauna cabin does not make the entire room waterproof. If users will walk from a shower or tub, account for that wet route separately.
In a basement or other moisture-prone location, address existing dampness before installation rather than concealing it behind the enclosure.
Sharing a Small Space With a Tub or Shower
Combining several wellness features can work, but the sauna room entrance should not become the only place to dry off, change clothes or access another fixture. Preserve a clear route between activities and keep electrical equipment away from locations where it is not approved for use.
If a two-person corner hot tub is also on your shortlist, the Luxury Bath Supply Platinum 2 Person Corner Hot Tub AM-505 and Luxury Bath Supply Mesa 2 Person Corner Hot Tub BT-150150 are models to evaluate separately from the sauna footprint.
A corner format is not proof that either model will fit a shared space. Verify dimensions, approved installation location, filled weight, utility connections and service-access requirements before planning around either product. Include any cover-handling space required by the selected model.
For a multi-product project, the guide to planning a home recovery room’s layout and flow provides broader considerations. In a genuinely tight room, choosing one well-positioned feature may be more practical than compromising access to two.
Compare Products by Installed Fit, Not Capacity Alone
Once you have a workable plan, compare actual installation documents rather than relying on product photographs. Request a dimensioned drawing if the listing does not resolve a critical measurement.
Evaluate the enclosure, door position, usable bench dimensions, heater or panel arrangement and required clearances together. Also check whether assembly must take place in position and whether the delivery route can accommodate the largest component.
The better sauna room purchase is the one that fits your intended use without requiring an awkward approach or inaccessible service areas. A slightly smaller enclosure may be the stronger choice if it preserves those essentials.
Compare total project requirements too. A cabin that appears inexpensive can still require electrical work, floor preparation or changes to the surrounding room. A custom enclosure offers layout flexibility, but that flexibility comes with additional design and construction decisions.
Frequently Asked Questions
What is the smallest practical home sauna layout? There is no universal minimum. Start with a model designed for your intended number of users, then add its required installation clearances, door swing and approach space. For custom construction, heater requirements and usable seating help establish the minimum workable interior.
Is a corner sauna always better for a small room? No. A corner design can improve circulation in some square rooms, while a rectangular enclosure may use a narrow area more efficiently. Compare complete floor plans, not shape labels alone.
Can I put a sauna room in a closet? Possibly, but an existing closet is not automatically suitable. Ceiling height, ventilation, electrical supply, surrounding materials and safe access must meet the selected equipment’s requirements and applicable local rules. Professional evaluation is worthwhile before conversion.
Should I choose a glass door to make the space feel bigger? Glass can create a more open visual connection, but it does not reduce the physical footprint. Choose a door or enclosure designed for sauna use, and account for the selected glazing when following heater-sizing instructions for a custom build.
Can I add storage beneath the benches? Do not assume unused space is approved storage. It may be needed for airflow, cleaning or equipment clearance. Keep supplies outside the enclosure unless the manufacturer expressly permits the proposed arrangement.
Choose the Layout Before Choosing the Model
A successful compact installation leaves room for more than the enclosure itself. Clear access, comfortable seating and reachable service points make the space easier to use over time.
Start with a measured drawing, test the arrangement at full scale and compare Hearthside Supply’s one- and two-person saunas against that plan. Before ordering, confirm the exact model’s installation requirements so your sauna room fits in practice, not just on paper.
Ready to invest in your home wellness?
Explore our curated selection of premium saunas, hot tubs, cold plunges, steam showers, and swim spas — with clear specifications, nationwide delivery, and secure checkout.
Keep reading
View all posts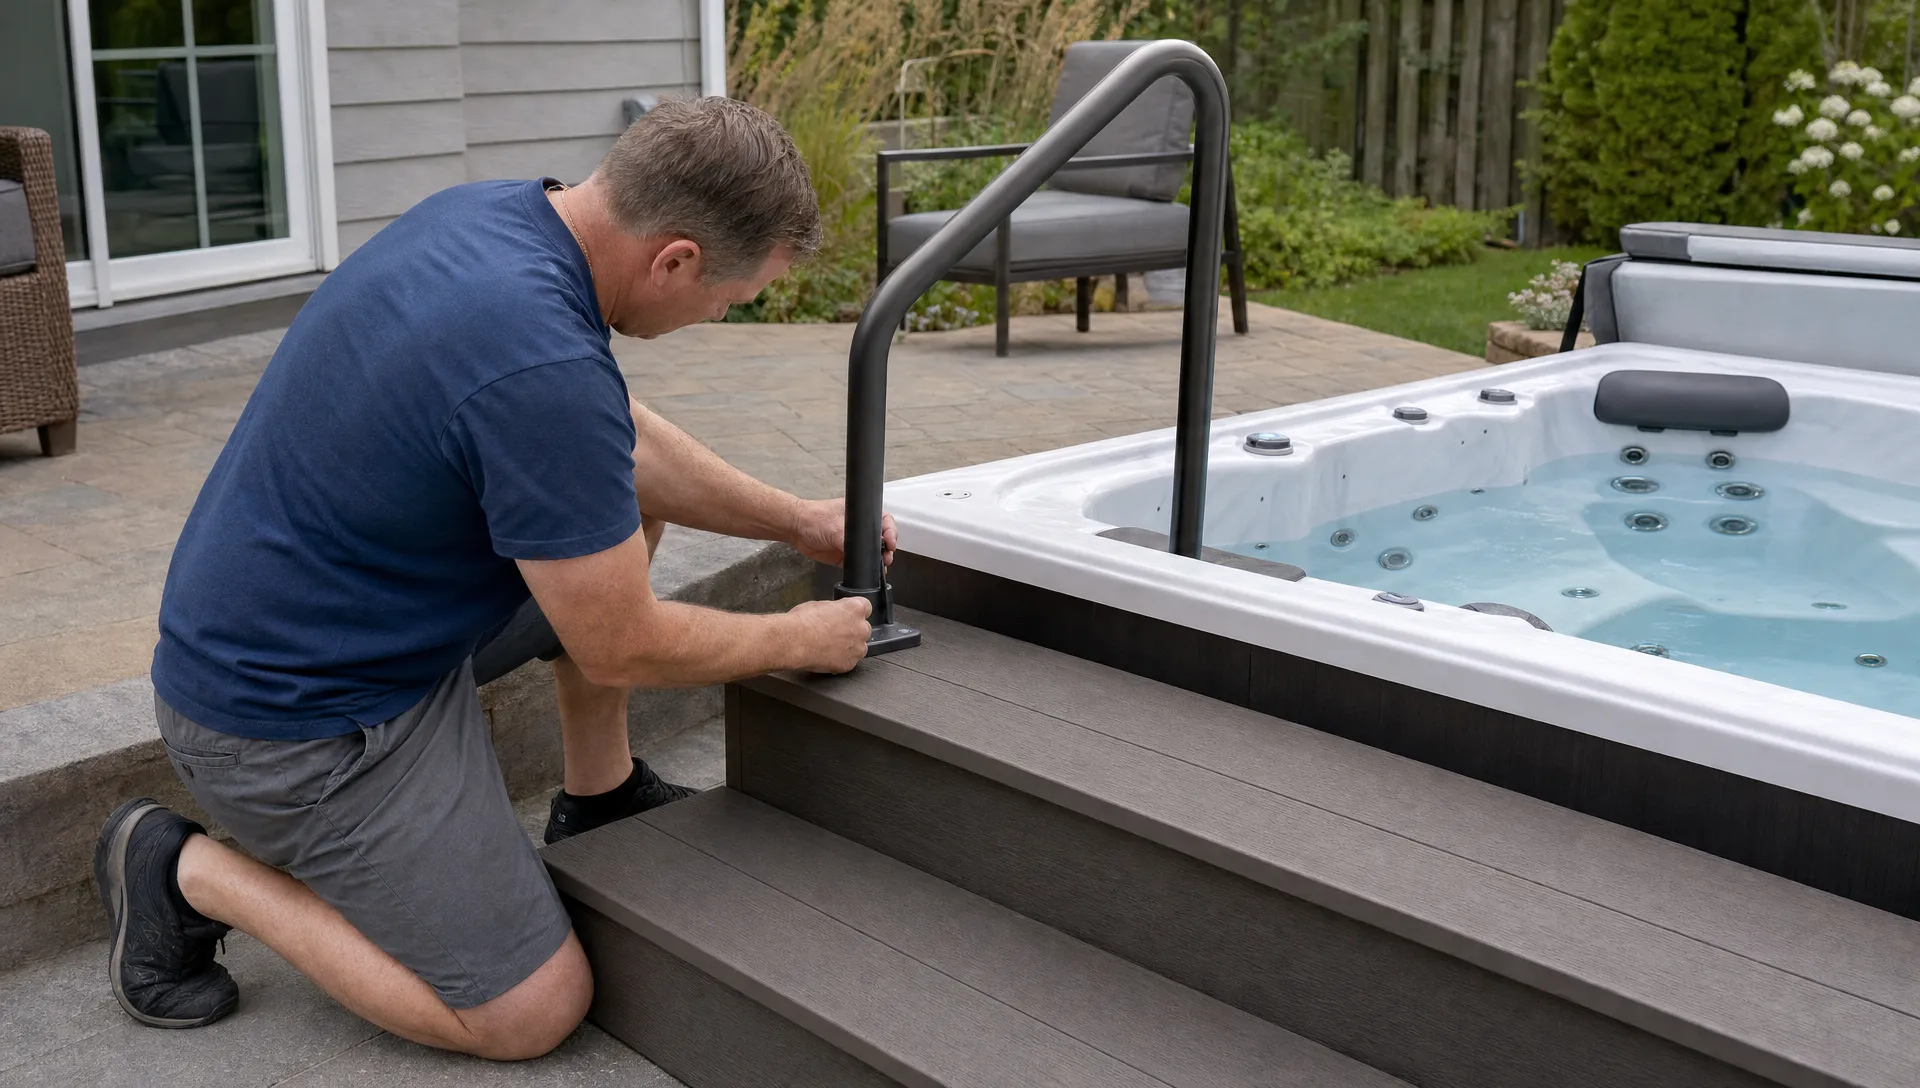 Wellness
Hot Tubs for Seniors With Easier Entry and Comfortable Seating
A comfortable spa starts with an entry route and seats that fit the person using it. Learn what to check before buying, from secure handrails and seat depth to cover handling and ongoing upkeep.
Read article Wellness
How to Read Hot Tub Reviews Without Falling for Hype
A glowing rating cannot tell you whether a spa fits your home or budget. Learn how to separate useful owner feedback from sales hype and verify the claims that matter before you buy.
Read article Wellness
Is a Dual-Zone Hot Tub Swim Spa Combo Worth the Extra Cost?
Separate temperatures can make swimming and soaking easier, but they also add cost and maintenance. Compare the upgrade with a single-zone spa or separate units before deciding which setup fits your household.
Read article