
How to Install a Home Sauna: A Complete Step-by-Step Guide

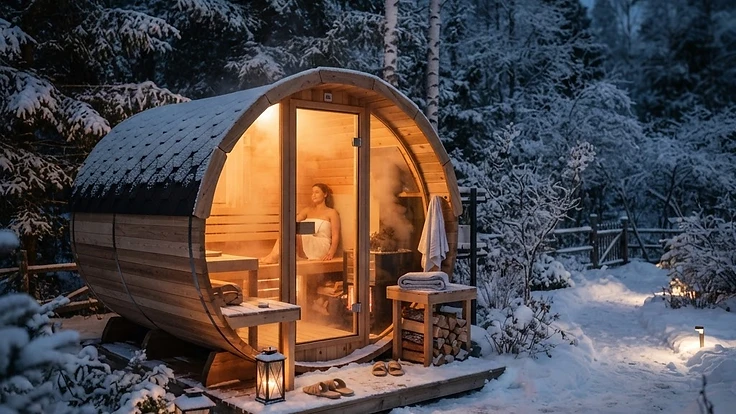
How to Install a Home Sauna: A Complete Step-by-Step Guide — Saunas
Learn how to install a home sauna with our expert guide. From site prep and electrical requirements to assembly, we cover everything for a perfect setup.
Bringing the Wellness Sanctuary Home
Investing in a home sauna is one of the most rewarding upgrades you can make for your physical and mental health. Whether you are looking for the dry heat of a traditional Finnish sauna or the therapeutic benefits of an infrared sauna, the installation process is the first step toward unlocking cardiovascular support, muscle recovery, and deep stress relief. At Hearthside Supply, we provide premium saunas designed for longevity and performance, and this guide will walk you through the essential steps to ensure your home sauna setup is seamless, safe, and built to last.
Before you begin, we highly recommend reading The Ultimate Home Sauna Guide: Everything You Need to Know to understand the differences between cabin styles, wood types like cedar or hemlock, and heater technology.
What You'll Need: Tools and Preparation
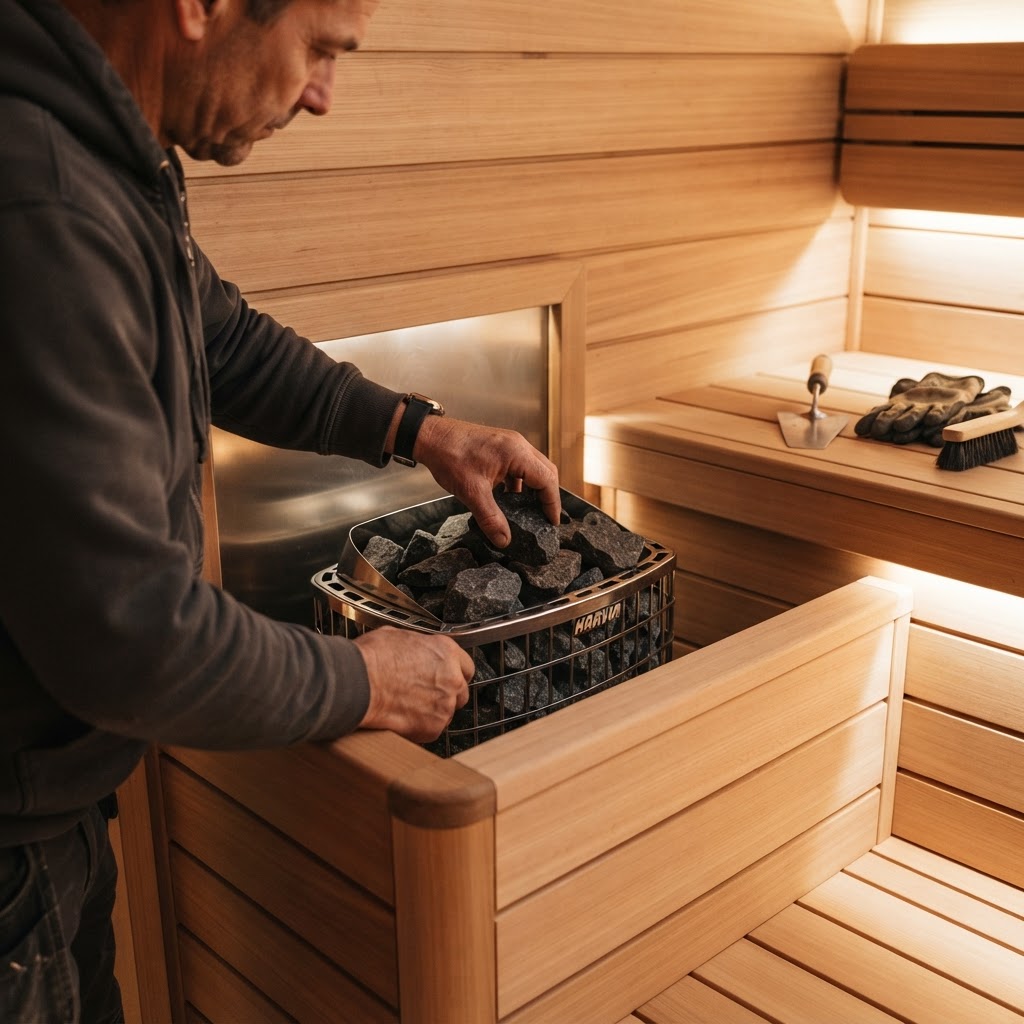
Proper preparation is the hallmark of a successful sauna installation. Whether you are assembling a prefab kit or building from scratch, you will need the right tools and a clear plan. Essential items typically include:
- Leveling tools and shims
- Cordless drill and screwdriver bits
- Measuring tape
- Electrical conduit and wires (matching your heater's specs)
- Proper ventilation ducts or vents
- Safety equipment (gloves, goggles)
- A reliable helper (sauna assembly is rarely a one-person job)
Before you start, check your local building codes. Customers in states like California or Colorado may have specific requirements regarding electrical circuits and safety setbacks. Always consult a licensed electrician regarding your HUUM Cliff 9 kW Electric Sauna Heater or other selected model to ensure your power supply meets the manufacturer's specific voltage and amperage guidelines.
Step 1: Selecting the Site and Preparing the Foundation
The foundation is the most critical component for any indoor or outdoor sauna. For an outdoor barrel sauna or cabin sauna, the surface must be flat, level, and capable of supporting significant weight. Concrete slabs, pressure-treated lumber decks, or reinforced pavers are ideal. For indoor installations, ensure your flooring can handle the heat and the potential for moisture; tile or concrete is best.
If you are placing your unit outdoors, consider environmental factors. If you reside in a region with heavy snowfall, remember to follow our tips in the Outdoor Sauna Winter Care: Your Complete Maintenance Guide to ensure your roof insulation and structure remain sound throughout the year.
Step 2: Understanding Sauna Electrical Requirements
One of the most common points of failure in sauna installation is the electrical setup. Most electric heaters, including our professional-grade HUUM Hive 18 kW Electric Sauna Heater, require a dedicated 220V circuit. You must ensure that your breaker box can accommodate the load. If you are uncertain about wiring, do not hesitate to contact our team or a local professional. Using undersized wiring can lead to performance issues or, worse, fire hazards.
Step 3: Assembly of the Sauna Structure
Prefab sauna kits are designed for efficiency. Start by laying out your base frame and ensuring it is perfectly level. If your base is off by even a fraction, the interlocking wall panels will not fit correctly. Once the base is set, begin installing the walls. For traditional Finnish models, you will be working with high-quality wood like cedar, spruce, or basswood. Handle these materials with care to avoid splintering or marking the finish.
Install your bench supports and heaters according to the layout provided in your manual. When installing your rocks, make sure they are placed loosely around the heating elements to allow for proper airflow—this is vital for achieving the perfect löyly (steam) when you pour water on the stones.
Step 4: Ventilation and Insulation
A sauna is only as good as its ventilation. Proper air exchange ensures that the heat remains consistent and the air stays fresh. Your kit will typically include designated inlet and outlet vents. Never block these. If you are building an indoor custom sauna, ensure there is a vapor barrier between the insulation and the interior paneling. This prevents heat loss and moisture buildup inside your wall cavities.
Common Mistakes to Avoid
Many first-time owners make preventable errors during installation. One of the biggest mistakes is failing to allow for proper heat-up time during the initial test run. Another common oversight is poor placement of the hygrometer and thermometer. Always place your thermometer away from the heater and direct ventilation paths to get an accurate reading of the temperature range in your cabin. Furthermore, never use unapproved electrical components, as this will void your manufacturer's warranty.
Pro Tips for a Premium Experience
To truly elevate your wellness sanctuary, focus on the details. Consider adding LED lighting or chromotherapy settings to enhance relaxation. Keep your sauna essentials—like a high-quality bucket and ladle—within reach. For more tips on maximizing your sessions, check out How Long Should You Stay in a Sauna? A Duration Guide.
Related Reading
- Sauna vs Steam Room: Which Is Better for Your Home?
- What Is an Infrared Sauna: A Complete Beginner's Guide
- Energy Efficiency Compared: Saunas, Hot Tubs, and Cold Plunges
- Small Space Wellness: Compact Saunas and Plunges for Tight Homes
FAQ
Do I need a professional to install my home sauna?
While many of our prefab kits are designed for straightforward DIY assembly, we strongly recommend hiring a licensed electrician for all electrical work. This ensures your safety and compliance with local building codes.
How long does the installation typically take?
Depending on the model and your experience, most prefab saunas can be assembled in one to two days. Foundation work and electrical rough-ins may take additional time.
Can I install a traditional sauna indoors?
Yes, provided you have adequate space, the proper ventilation, and the correct electrical supply. Ensure the flooring is waterproof and heat-resistant.
Ready to invest in your home wellness?
Building your own sauna is a life-changing project. If you are ready to begin, explore our premium collection of Saunas, Hot Tubs, Cold Plunges, Steam Showers, and Swim Spas. We offer nationwide shipping across the U.S. If you have questions about specific models or need guidance, call us at +1 (253) 264-2435, email sales@hearthsidesupply.com, or talk to a specialist today.
Ready to invest in your home wellness?
Explore our curated selection of premium saunas, hot tubs, cold plunges, steam showers, and swim spas — with clear specifications, nationwide delivery, and secure checkout.
Keep reading
View all posts
 Saunas
What Is Chromotherapy in Saunas: Color Light Therapy Explained
Discover what is chromotherapy in saunas and how color light therapy enhances your wellness routine. Learn about the psychological and physical benefits today.
Read article
 Saunas
Sauna Temperature Guide: Finding Your Ideal Heat Setting
Discover the ideal sauna temperature for your needs. Learn how infrared vs. traditional sauna heat impacts recovery, detoxification, and overall wellness.
Read article
 Saunas
Sauna Lighting Ideas: Enhancing Ambiance and Chromotherapy
Transform your sauna experience with the right lighting. Learn how to design the perfect sauna ambiance using chromotherapy and modern LED solutions.
Read article